I decided it was time to start sprouting Mung beans again... it has been a long winter
and we needed a taste of something homegrown, fresh and springlike. I forgot how fast they were to do....
... now I'm wondering why I haven't been sprouting all along.
I used to sprout Alfalfa seeds all the time but somehow I got away from it.
Well, not anymore.

I had this jar of Mung beans in the kitchen drawer for quite a while, actually I almost forgot about them... but they were still great.
they must have the ability to keep their vitality for a long time.. Good thing for Preppers to store away.... just in case...

I measured out 1 C. and covered them with lots of luke warm water and let them sit on the counter overnight.

In the morning they had already swelled to this size... 1/2 bursting out of their skins.. These little guys were just waiting there in the cupboard for someone to come and rub the jar like Aladdin's lamp a few times to make some magic. I was really surprised how fast they absorbed the water and came to life.

In the morning, I rinsed them in a colander.

Then laid a thick potholder covered with a teatowel on the counter. I placed the mung beans in a mason jar lying on an angle so any moisture drained out and away so the beans didn't lay in water... they like to be moist but not lying in water, so draining them is important..
... then I covered them with another teatowel doubled over... (I wove these cotton teatowels a few years ago on the Glimakra Loom that I sold last year)
I rinsed the beans twice a day, morning and night.

I couldn't believe how much they grew in just one day. They were so beautiful. I loved seeing all those lively little growing tails.
I sampled them right away and they tasted sooooo good ... Like nutty peas.

At the end of the second day I thought they were plenty big enough and tasty enough to start using them.. they really did taste like Spring.

I immediately threw 2 handfuls into our salad,

and another handful went into the Chicken and Veggie soup just near the end... they also are great in sandwiches and stirfrys too. Then store the rest in the fridge in a covered jar for up to a week or two.
*Note: when making the chicken stock I had simmered the chicken bones most of the day... I cooked them much longer than I usually do and it was so much more flavourful.. The extra time simmering must have coaxed more nutrients and vitamins from the bones... from now on, I will do this..
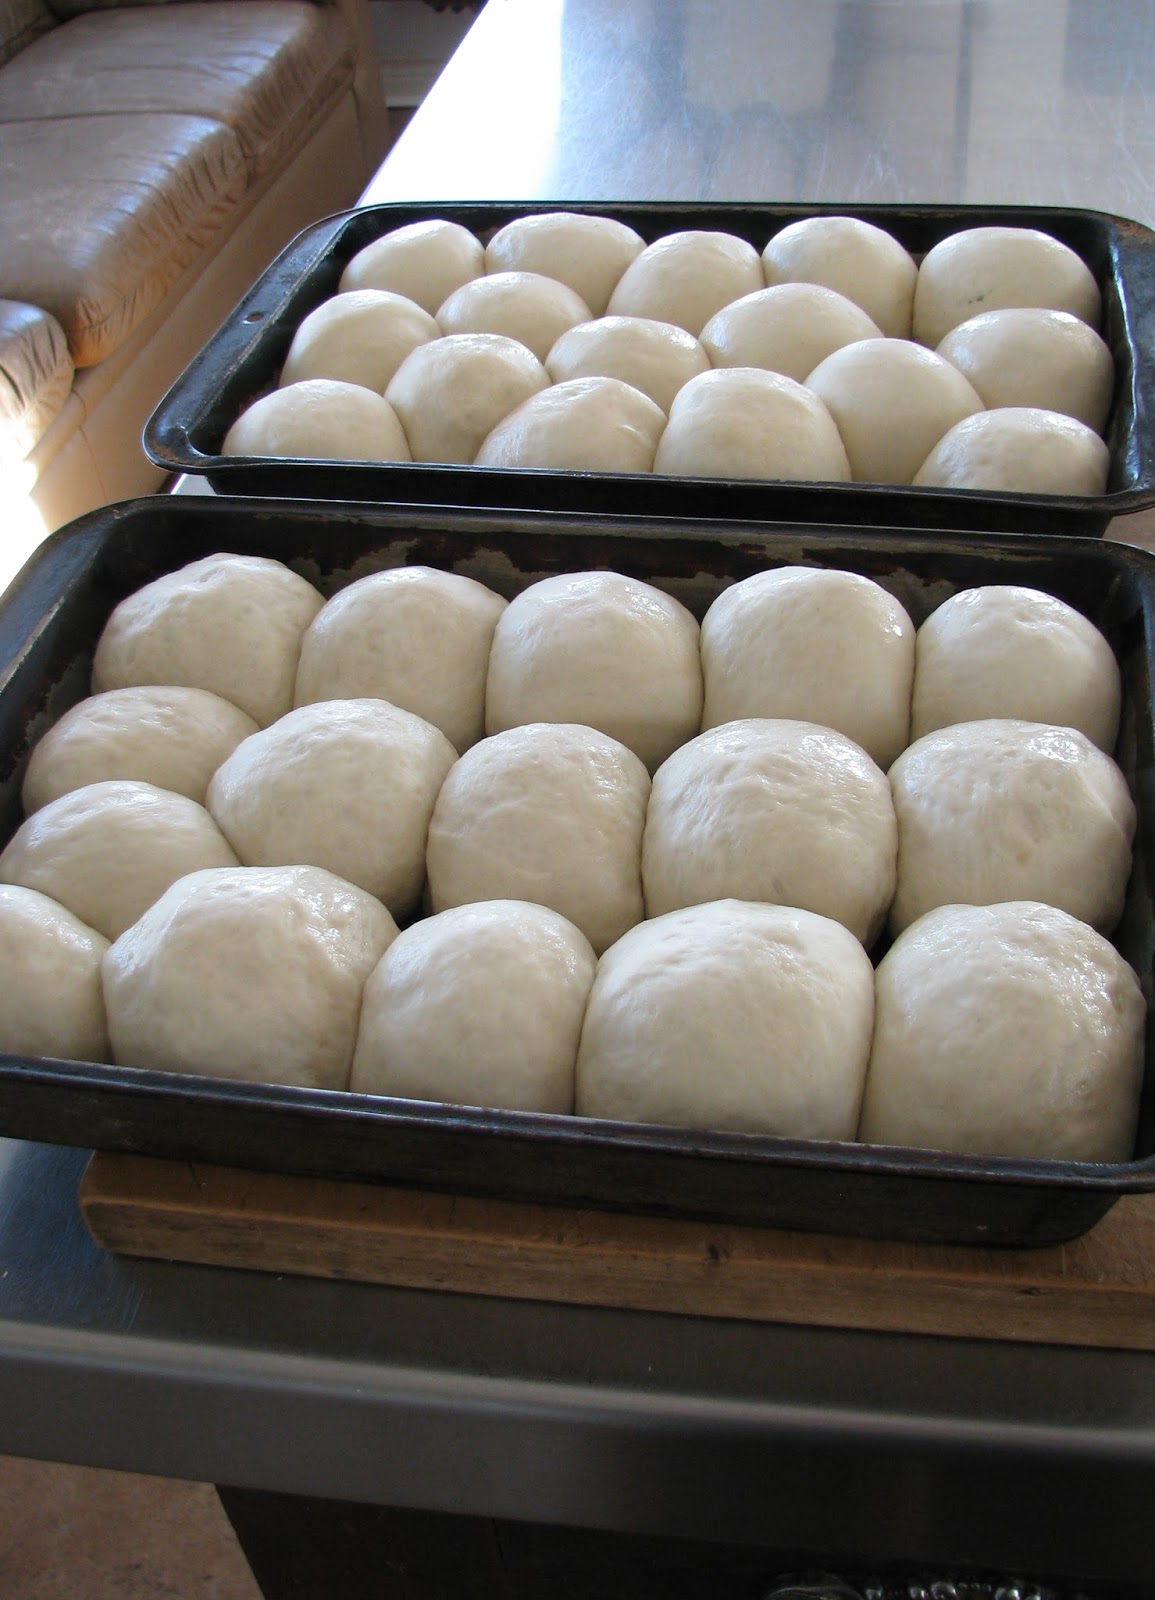
Well since we have been in "Jewelry Making Mode" for the last month and a 3/4... - Full out-.. we are home most all the time ... well let alone all the storms... who could go out on the roads... It must be a record for sure.. one storm after the other... anyway what better compensation to have but fresh made rolls for the Slaves(us)... have to feed them if I want to get some work out of them... haha.

Only problem was... they seemed to disappear too quickly.

I am going to add the recipe for the Dinner Rolls below, just incase you get the urge to try some.
I mix up the dough in the breadmaker, then put them in the pans to rise and bake.
Dinner Rolls
1 2/3 C. Water
2 T. Powered Milk
2 T. Canola Oil
2 T. Sugar
2 Tsp. Salt
4 1/3 C. White Flour
(I didn't feel guilty about using white flour 'cause I cook so much with whole wheat and grains that this was nice for a change.. I felt the need to explain!... I guess I must have felt guilty afterall... must be a woman/mother thing.)
1 1/2 - 2 Tsp. Dry Bakers Yeast
This is the recipe for a single batch of Rolls but I made a double batch.... each batch make 16 big rolls ... I use a 9" x 13" pan.
I usually let them raise for at least 40 min. sometimes longer, depends how warm the kitchen is... or if the woodstove is on or if there is a lot of sun coming in the windows... all depends... you'll know.
Set Oven for 385-390 Degrees F. and bake for approx. 22 min. depending on your oven. I cooked these in a propane oven.
Good Luck!
****
and a Surprise from Penny Crompton, a talented Artist Friend from Australia
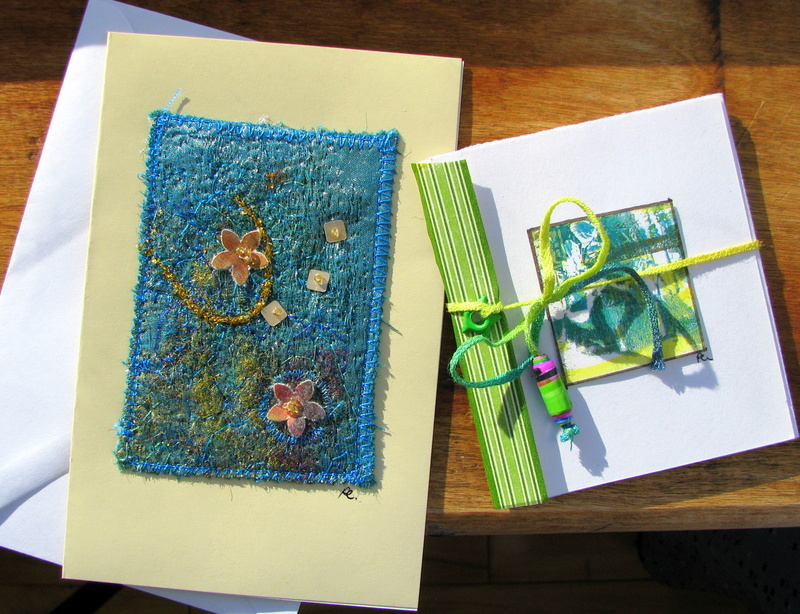
An Art Gallery all in the space of a 4" x 6" envelope...So beautiful!!!

...hand-stitched work of Art

With this handmade paper bead attached on the closure.

A folding book art display

with each piece signed

I have enlarged each one a bit so the beautiful textures and colors can be seen better.

each little miniature art painting is 1 1/2" square actual size.

...so much loveliness in such a compact shape.

Isn't this a visual treat... I felt happy unfolding each page.

And the back has even more.
I love miniatures and I will definitely treasure this.
Thank you Penny!! You surely knew Art with a spring time freshness was exactly what was needed this year.
Now everyone can enjoy it as much as I did!
Cheers!
****
and a Surprise from Penny Crompton, a talented Artist Friend from Australia
An Art Gallery all in the space of a 4" x 6" envelope...So beautiful!!!
...hand-stitched work of Art
With this handmade paper bead attached on the closure.
A folding book art display
with each piece signed
I have enlarged each one a bit so the beautiful textures and colors can be seen better.
each little miniature art painting is 1 1/2" square actual size.
...so much loveliness in such a compact shape.
Isn't this a visual treat... I felt happy unfolding each page.
And the back has even more.
I love miniatures and I will definitely treasure this.
Thank you Penny!! You surely knew Art with a spring time freshness was exactly what was needed this year.
Now everyone can enjoy it as much as I did!
Cheers!